The Sephia swap is a often talked about in Miata circles, but documentation for it is scarce. It is my goal with this article to both define the Sephia swap and without getting too intimate, explain how the swap is done. This will not be a guide for swapping a BP in and out of an NA Miata. That has been thoroughly documented by people much more experienced than myself, and would be redundant to cover. I am writing this under the assumption that you know how to turn a wrench. Anything not unique to the Sephia swap will not be covered. I will simply explain some of the quirks that come with this swap and how I got around them. Note, this only applies for the 1.8L BP. The 1.6L used in the Sephia is a 8v SOHC turd, and Miata 1.6L’s are easy enough to obtain for cheap.
Background
THIS! is a first generation Kia Sephia.
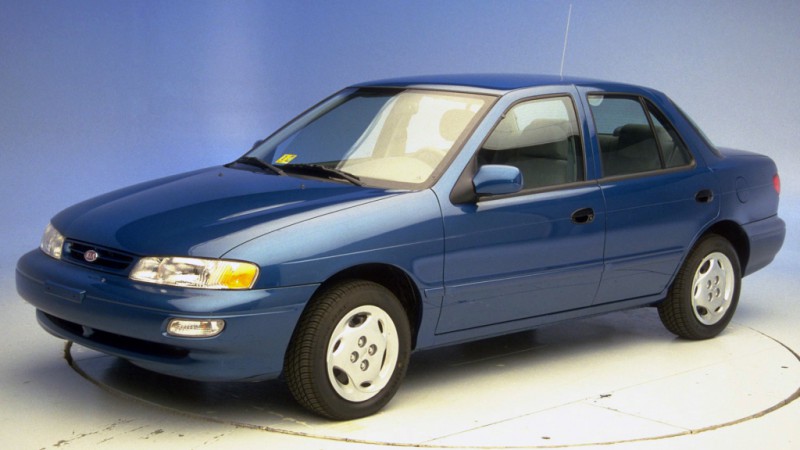 Quite the looker.
Specifically, it’s the 1995 to 1997 model year that matter. These share the beloved cast-iron BP05.
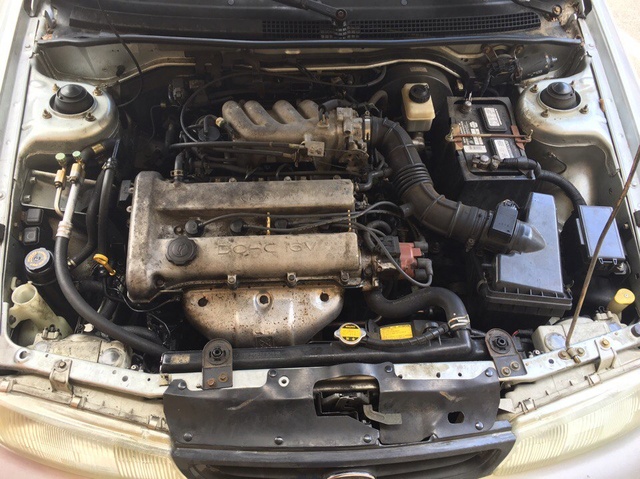
Here is a photo of a Kia BP05 in its bay for reference.
Junkyards carry these for pennies. I picked mine up for $312 with 70k miles.
Quick note, all the myths of the Kia engine not having oil squirters or less aggressive cams are wrong. At heart, these engines are identical.
The Swap
While things will bolt right up to the Miata trans and subframe, some work must be done to prepare it. Here’s everything that comes off the Kia motor that’s scrap.
- Intake and exhaust manifold
- Oil pan, windage tray, and pickup tube.
- Fuel rail
- Front water neck that bolts to the head
- Coil packs/CAS hybrid thing
- Oil pressure switch
- Accessories
- Timing cover
- Various bracketry
- Motor mounts
- Transmission shim
Here’s everything that comes off the Kia motor that is unique, yet interchangable
- Valve cover
- Oil pump (dipstick tube needs modification, see below)
- Camshaft gears
Everything else is identical.
Fabricobbling
Start tackling the easy stuff. Remove the CAS/distributor thing on the exhaust cam, spark plug wires, spark plugs. Remove the intake and exhaust manifolds. Remove the accessories and brackets. Remove the timing belt, harmonic balancer, timing plate, harmonic balancer, water pump, and finally the oil pump.
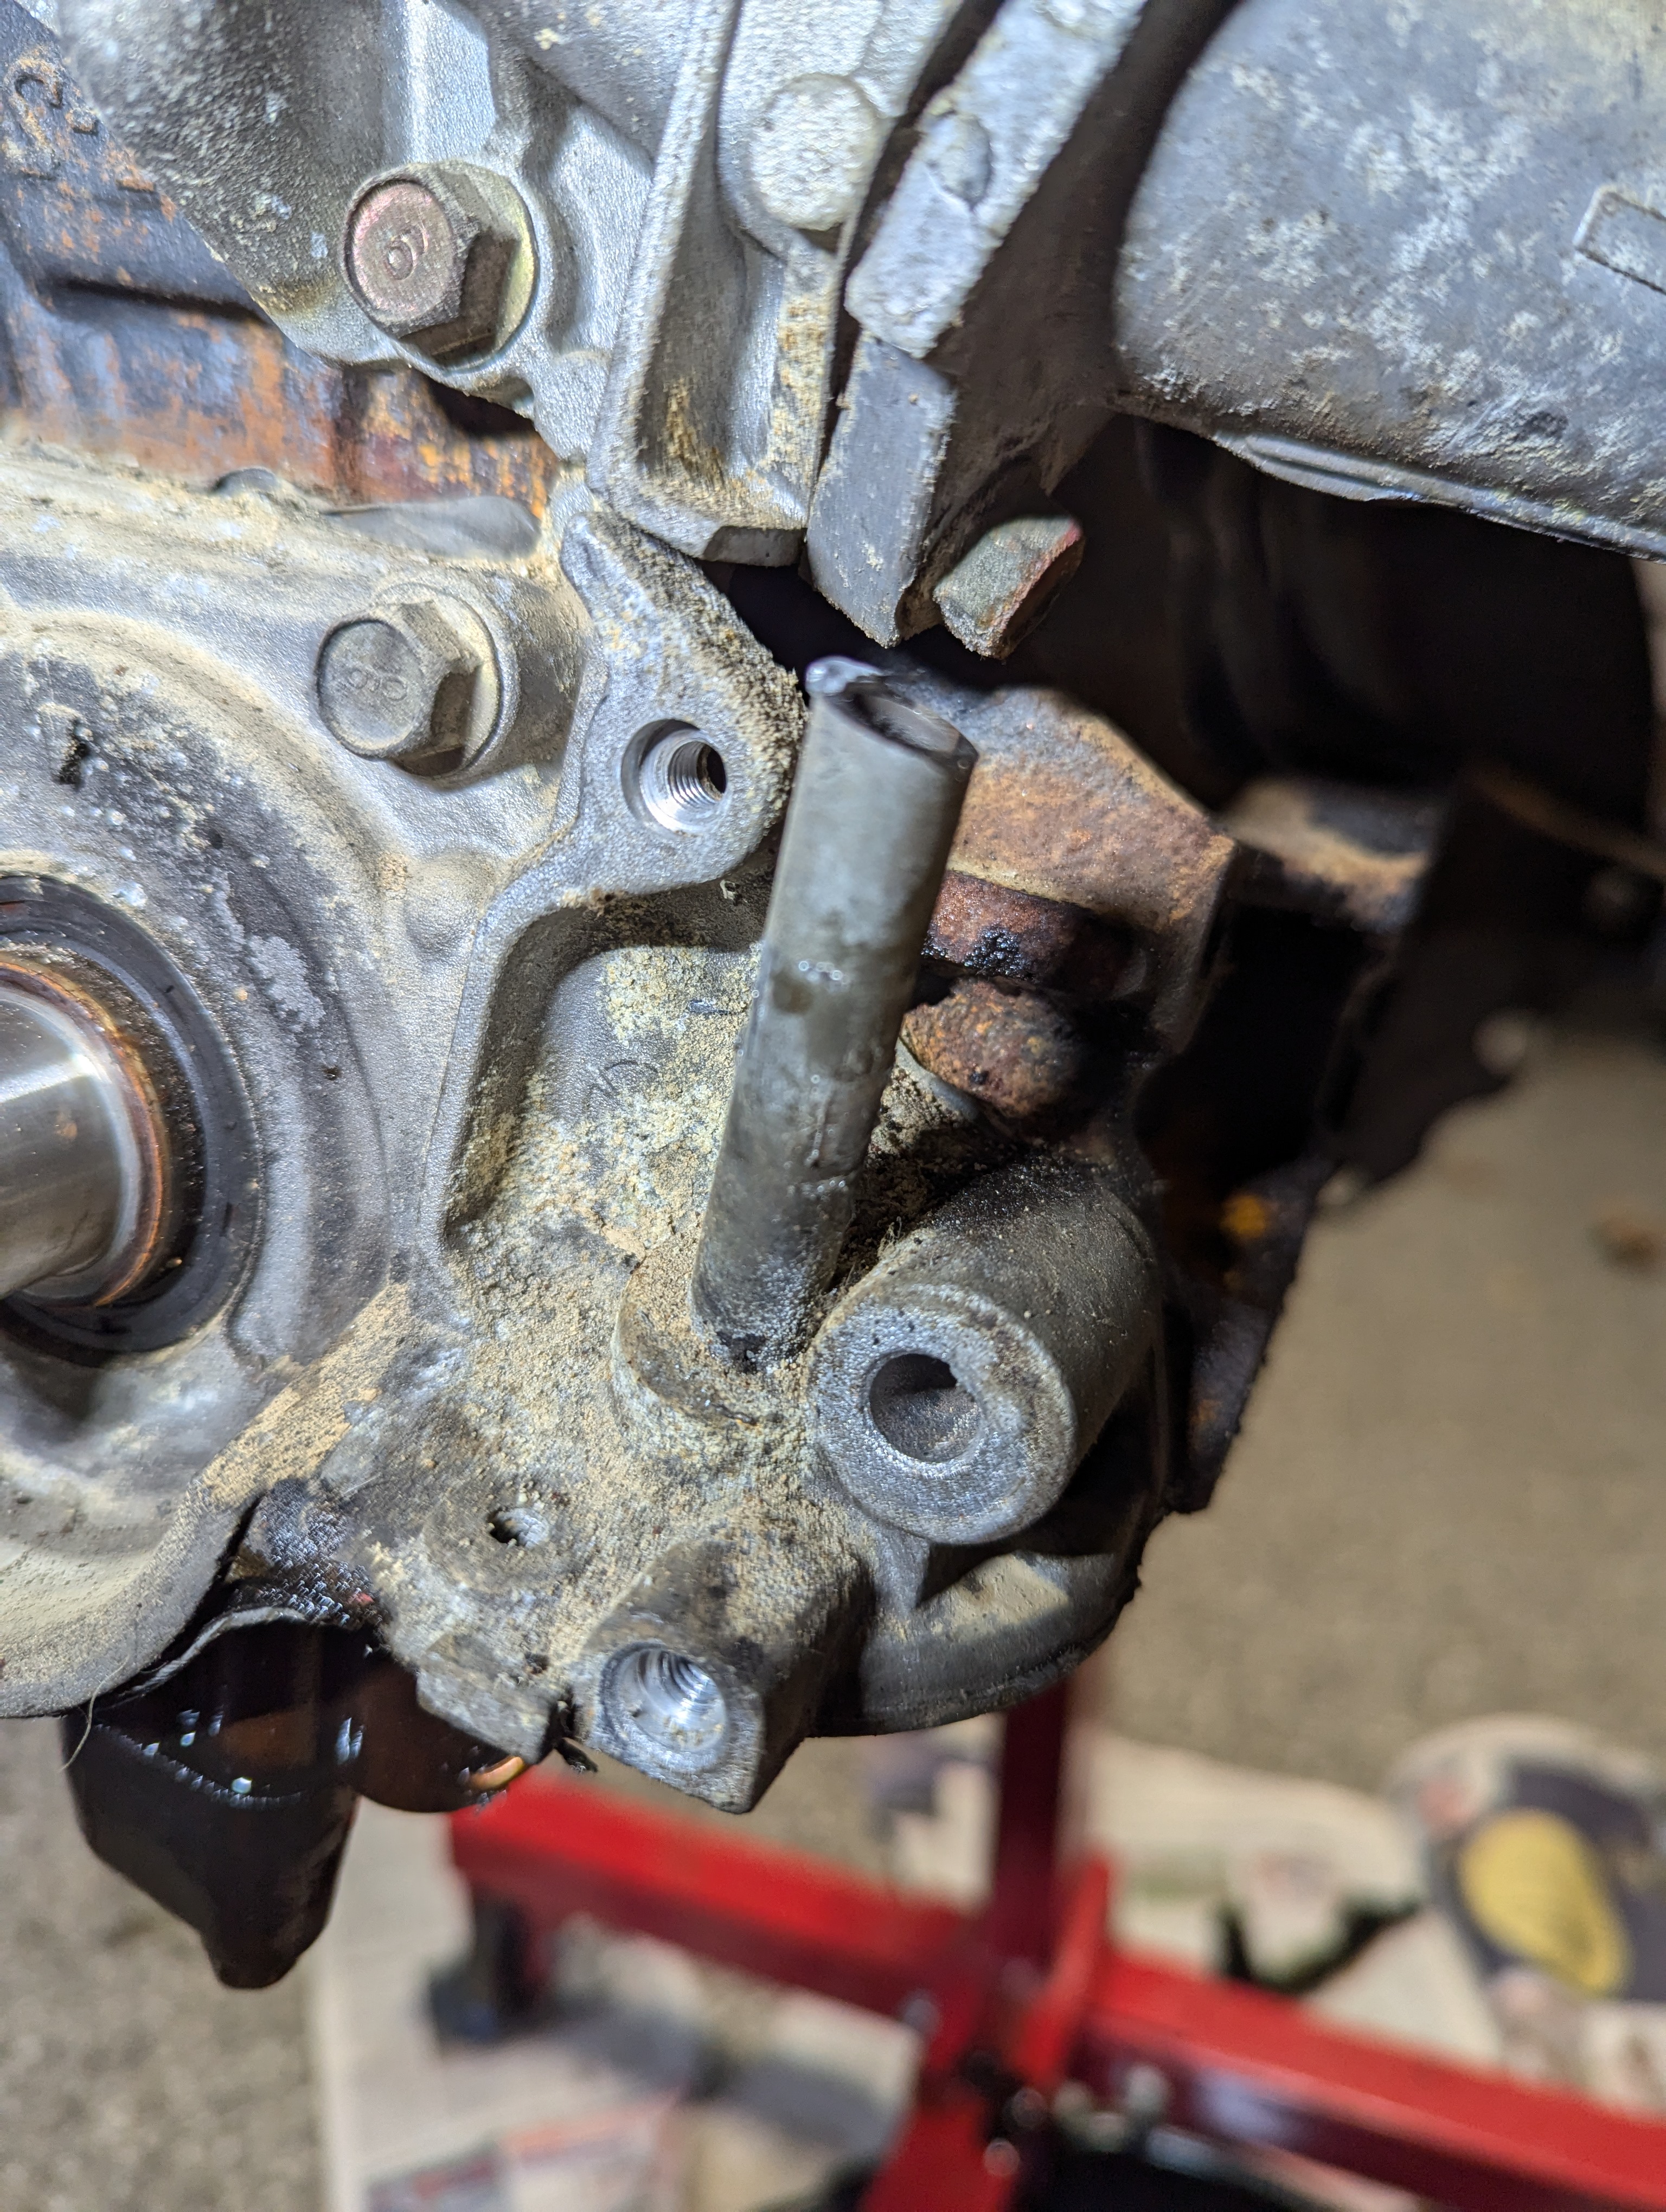
On FWD applications, the dipstick tube is on the oil pump. While it’s harmless to leave in there, don’t drive around with two dipsticks. Cut it down with a cut off wheel. Leave a few inches to work with.
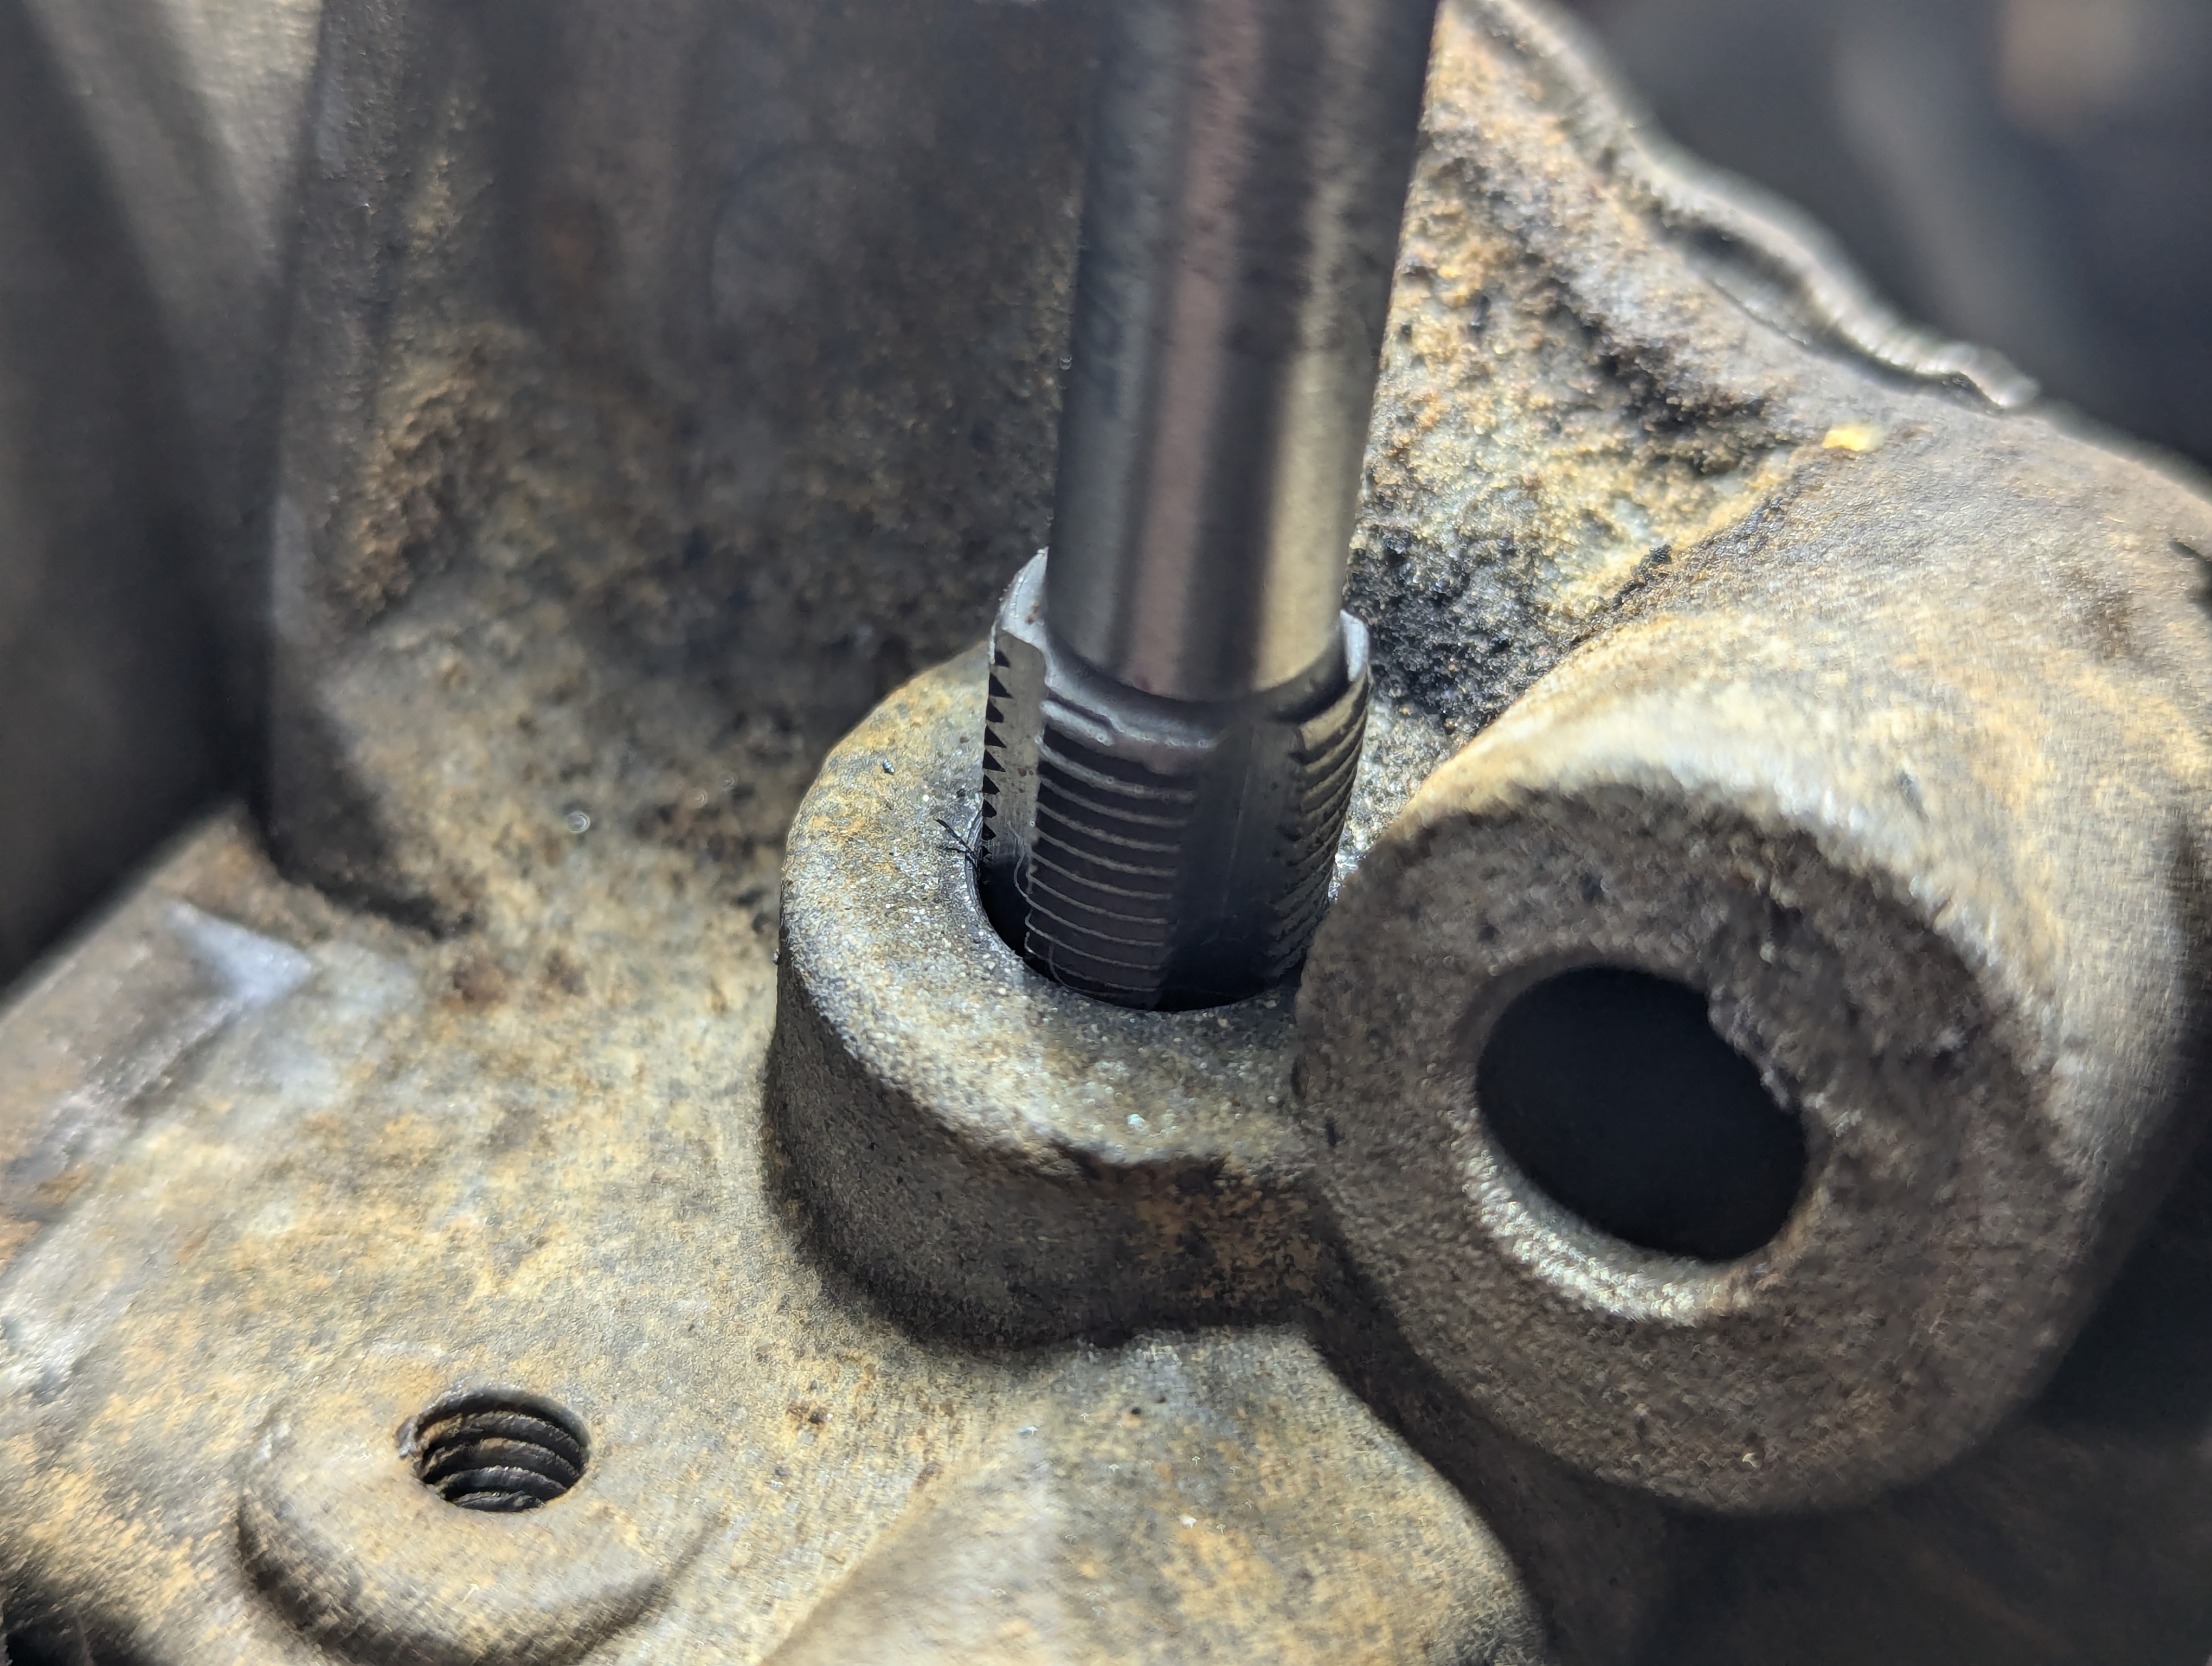
Don’t even bother with vice grips. The best way is to attack it from the underside. Flip the pump over and you’ll see where the tube is pressed in. Use a small socket or punch and a hammer to remove it.
To address the hole in the oil pump, a 1/8 NPT plug works well. Feel free to use whatever works. A more “professional” approach would be to use an actual plug. This works and was readily accessible. This doesn’t hold any oil pressure, so it doesn’t need to be crazy.
Rear Water Neck
The BP was originally intended for FWD applications like the Sephia. It was stuffed into a RWD application like the Miata with little regard for trivial things such as cooling. Budget-minded coolant reroutes actually use the rear water outlet of the Sephia on the Miata. All that’s needed is a Cobalt thermostat spacer, a plate to block off the front water neck, and Gates 22436. https://www.youtube.com/watch?v=CDJwo_jVvw4
Swap the Mazda one on if you want, it bolts right up. Make sure you remove the rear thermostat if using the Mazda housing. The Kia has a sensor of some kind threaded into the back of the head. Remove it and use the bolt in the same spot on the Miata head.
On the Sephia, a hardline comes out of the head and splits off to the heater core and something else. On the Miata, this hardline goes to a jacket around the oil leaving and entering the oil filter. Discourse on this jacket and its utility is a toss-up really. Swapping over the jacket involves swapping over the oil filter stud as well.
The Kia line has a big piece where the heater core hose goes. Heat up the head around it with a torch and remove it with a hammer. Ruin the heater core pipe if needed, it doesn’t matter. Don’t damage the smaller tube. Once that was out, it needed to be sealed. Clamp it with vice grips, hammer it shut, and seal it up with weld. This should be rock solid, but time will tell.
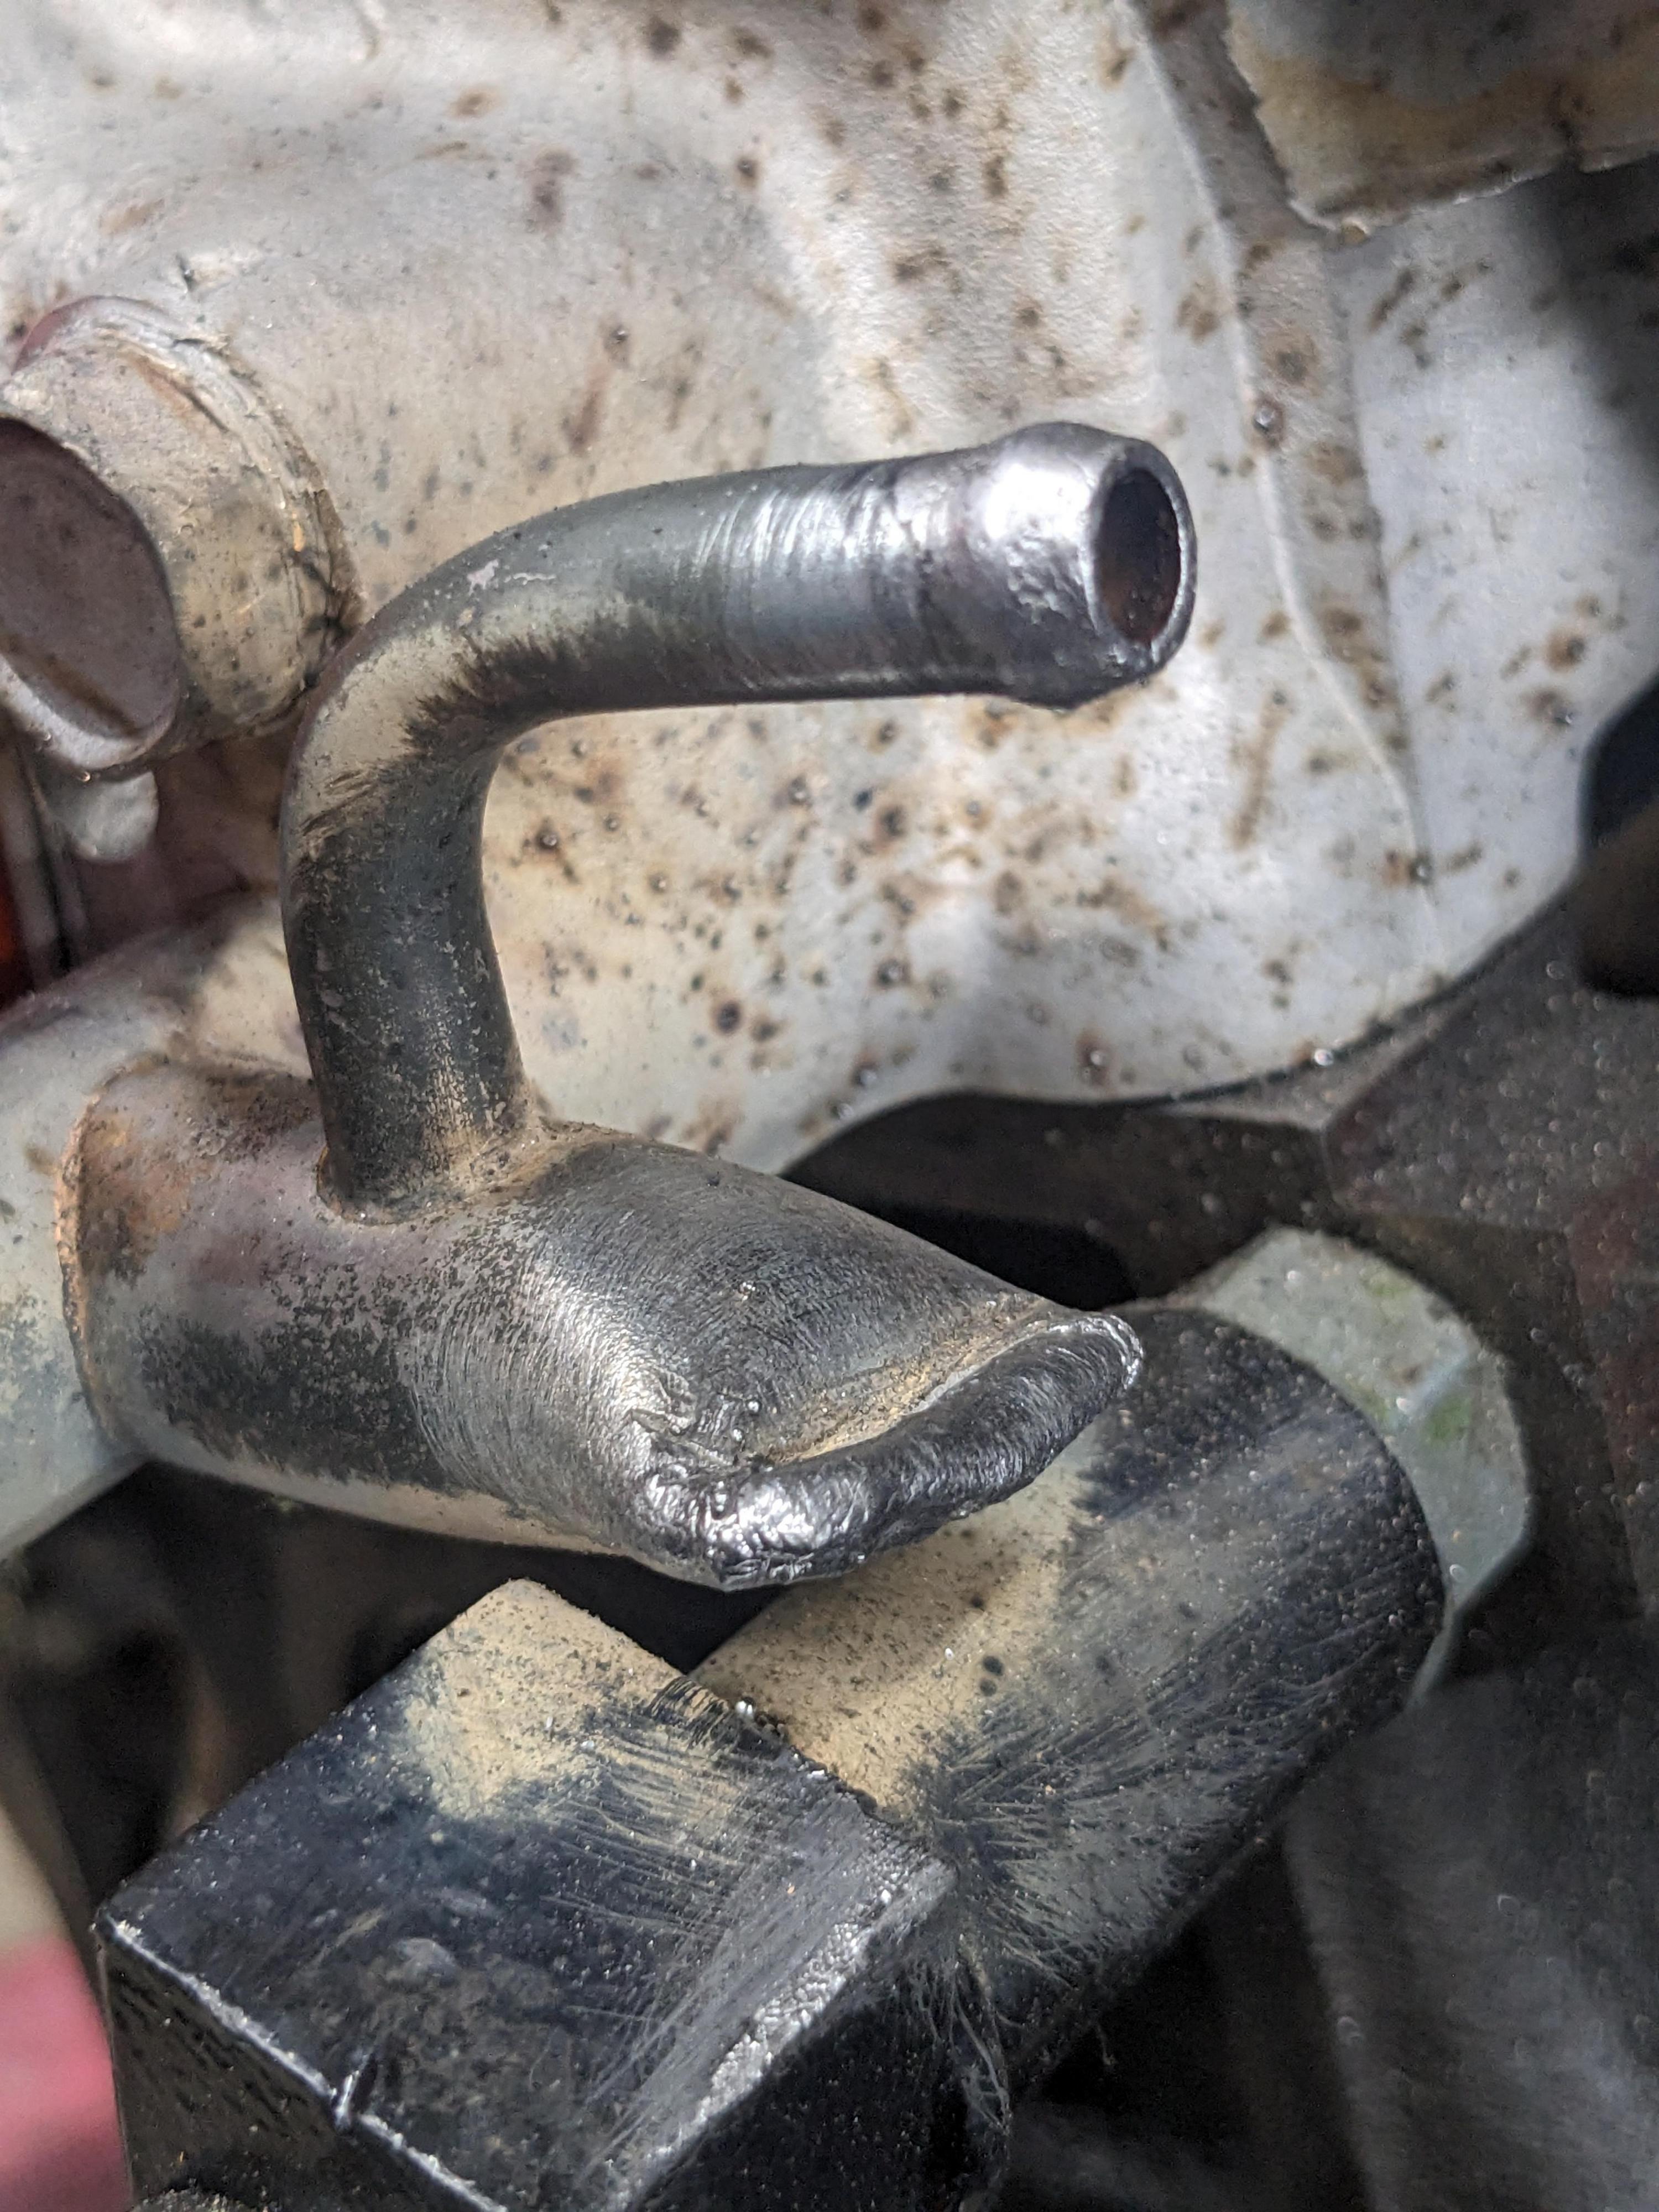 Photo by reddit.com/user/CarbonWood
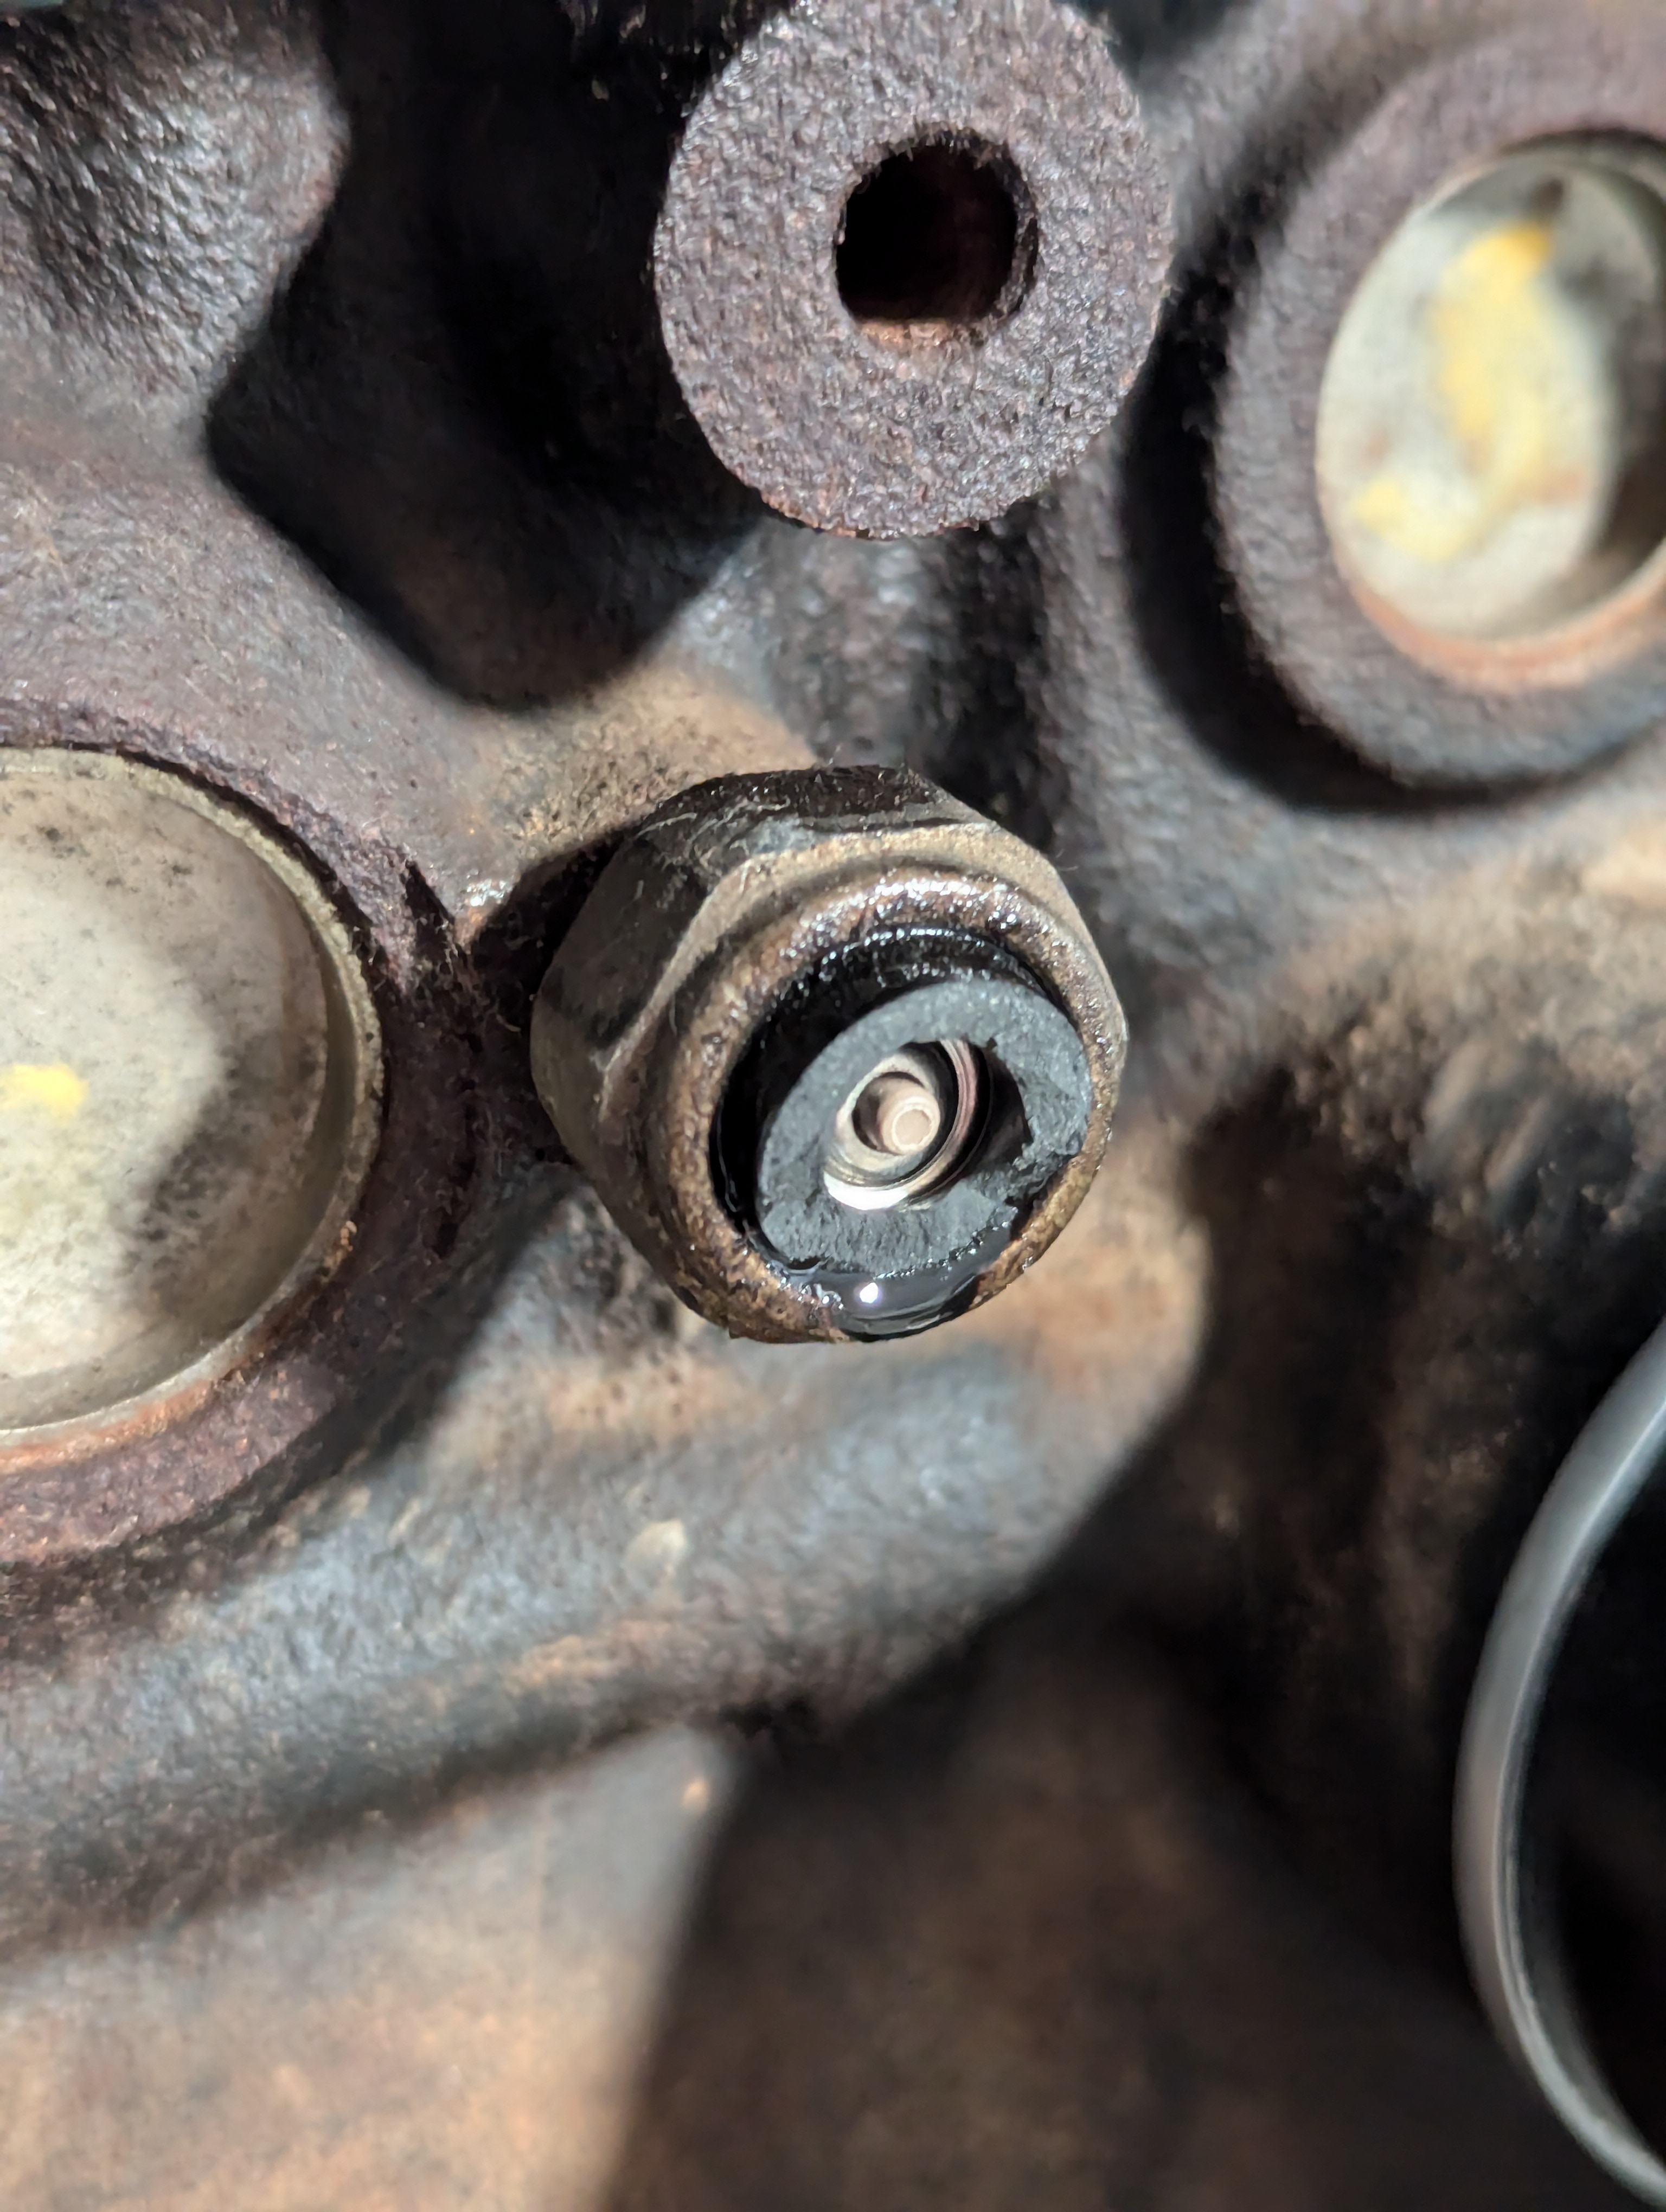
Oil Pressure Switch
The pressure switches weren’t the same between this 97 engine and my 94 Miata engine. 94’s have a “real” pressure sensor, so maybe they’re the same for fake ones. Swap if necessary, a hammer and a big socket is easier than wrestling an adjustable back there.
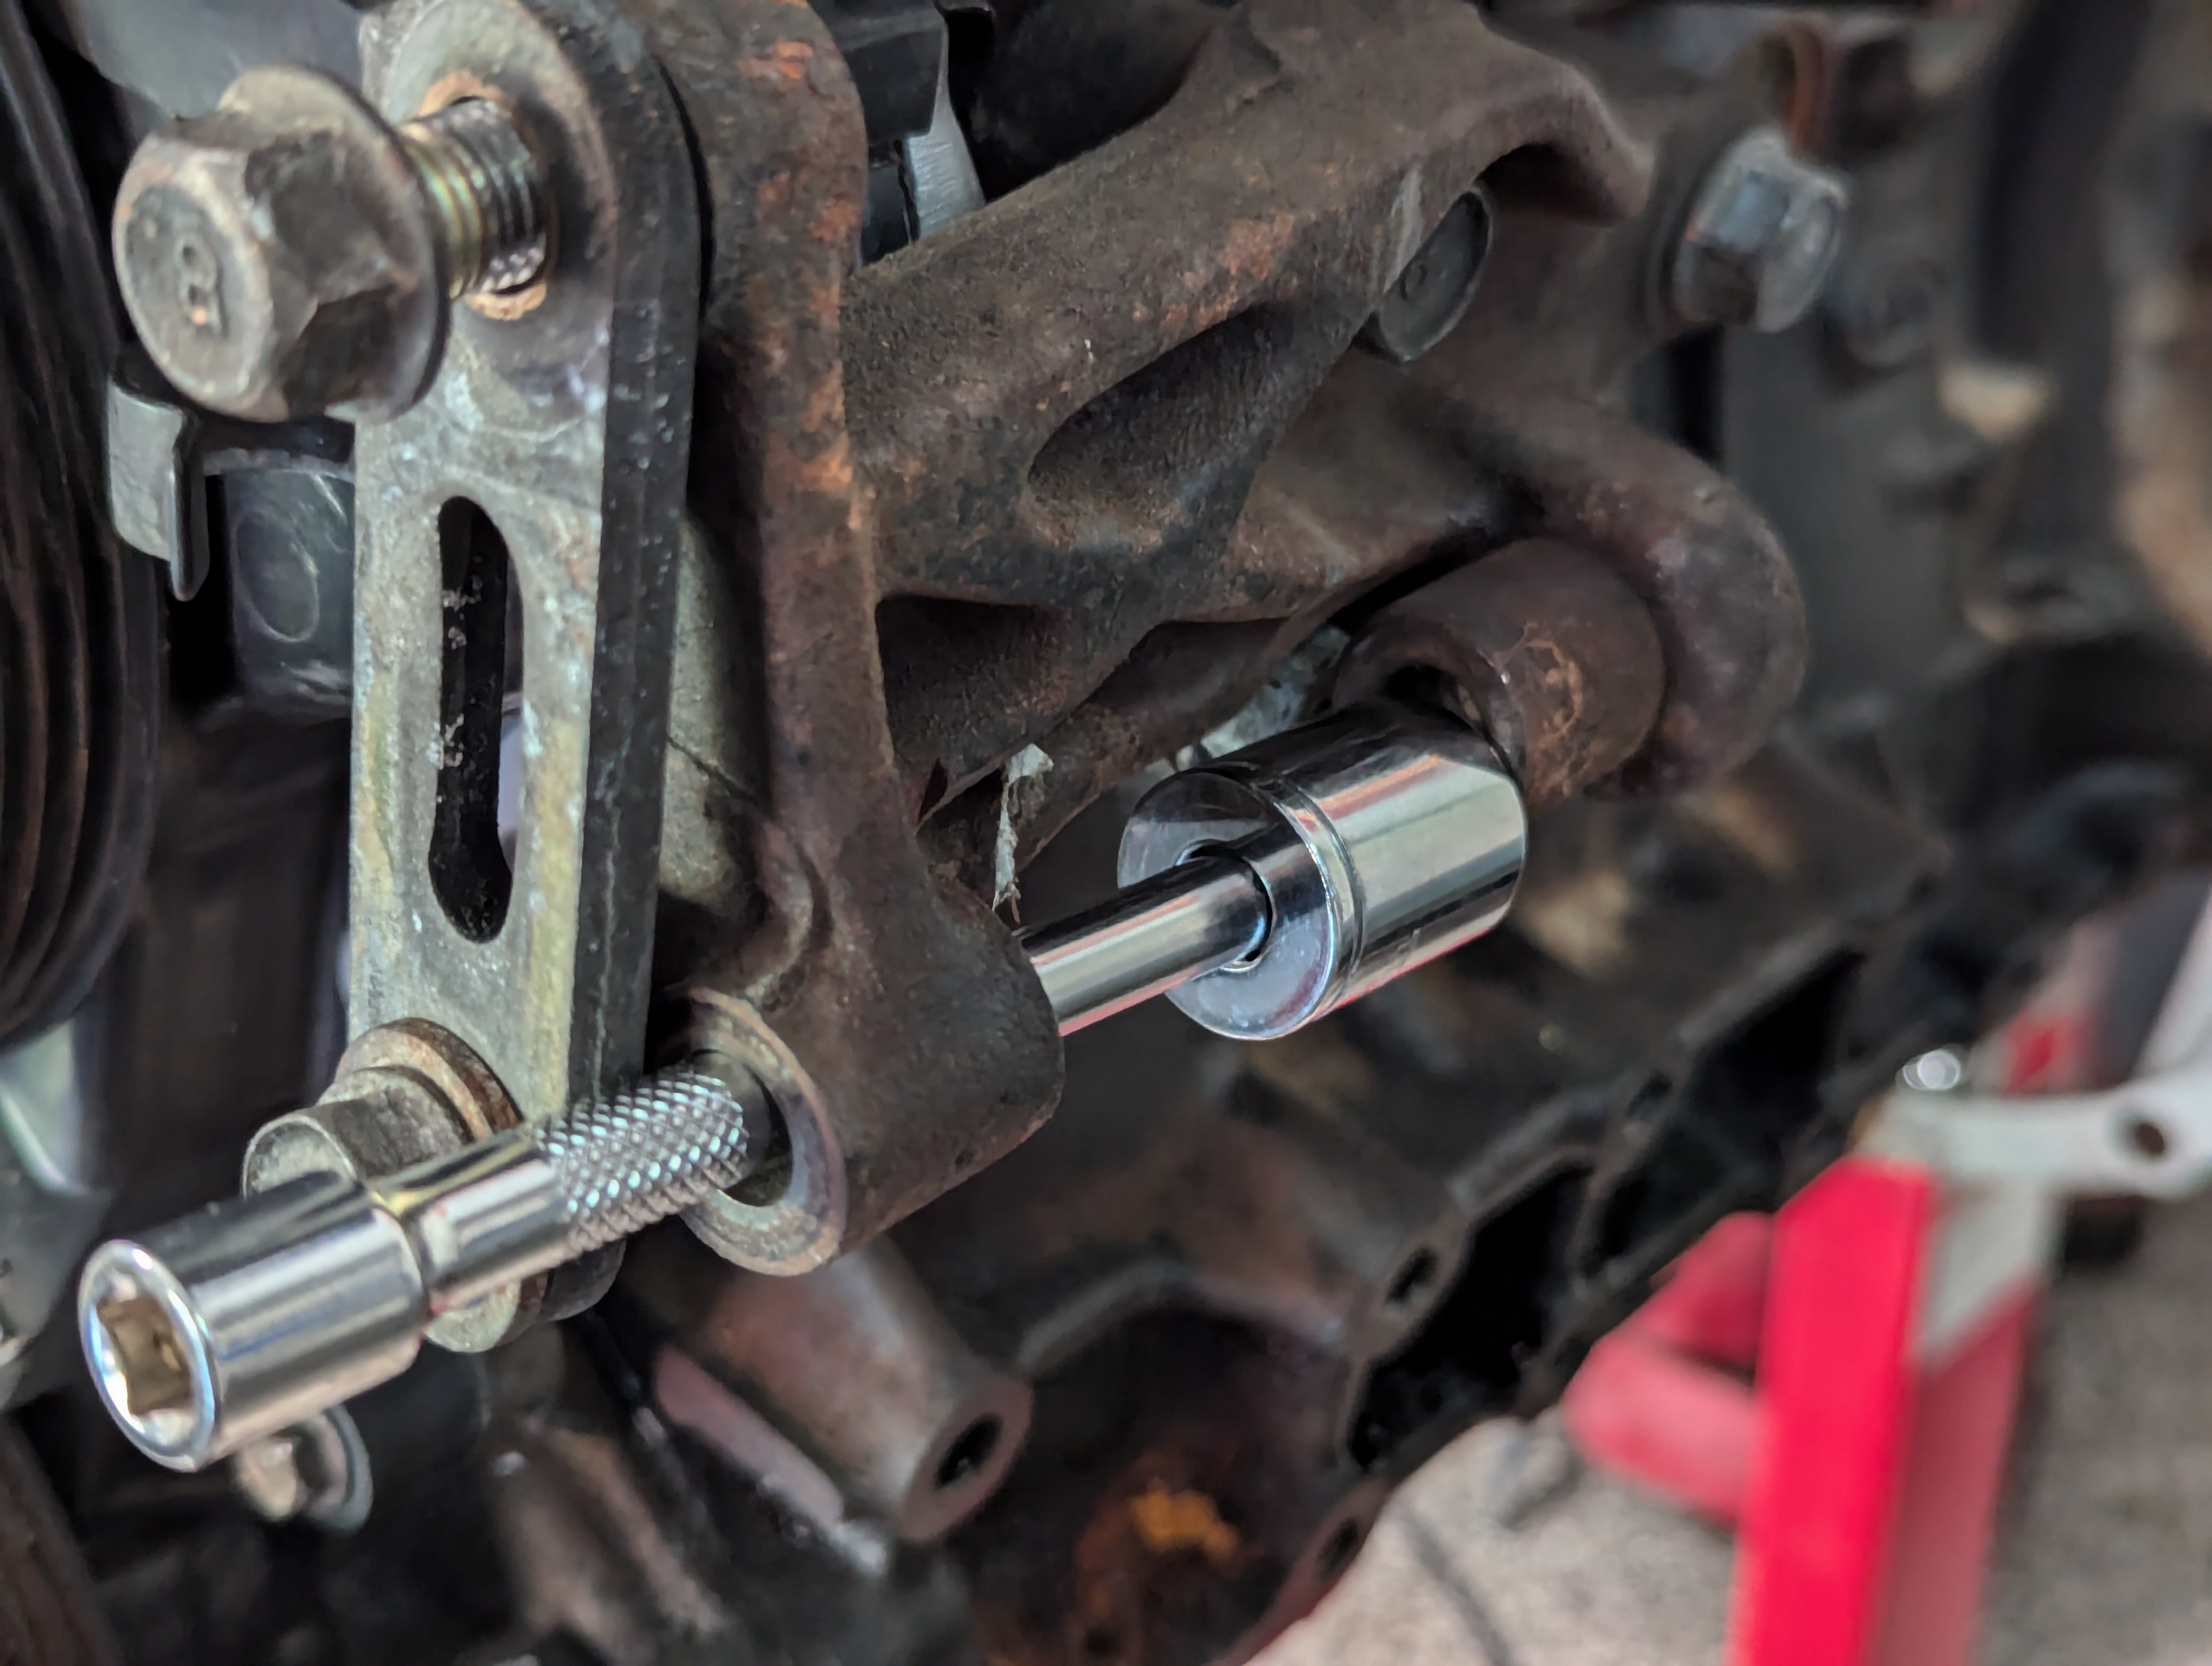
Power Steering Pump
In order to remove the pump bracket from the old motor, remove the bushing from the bracket. A hammer takes care of that. Reinstallation is not so easy. Use a hammer and socket to seat it, then use a large bolt and nut to clamp it back into it’s home. Grease the threads and use an impact if possible.
Front Water Neck
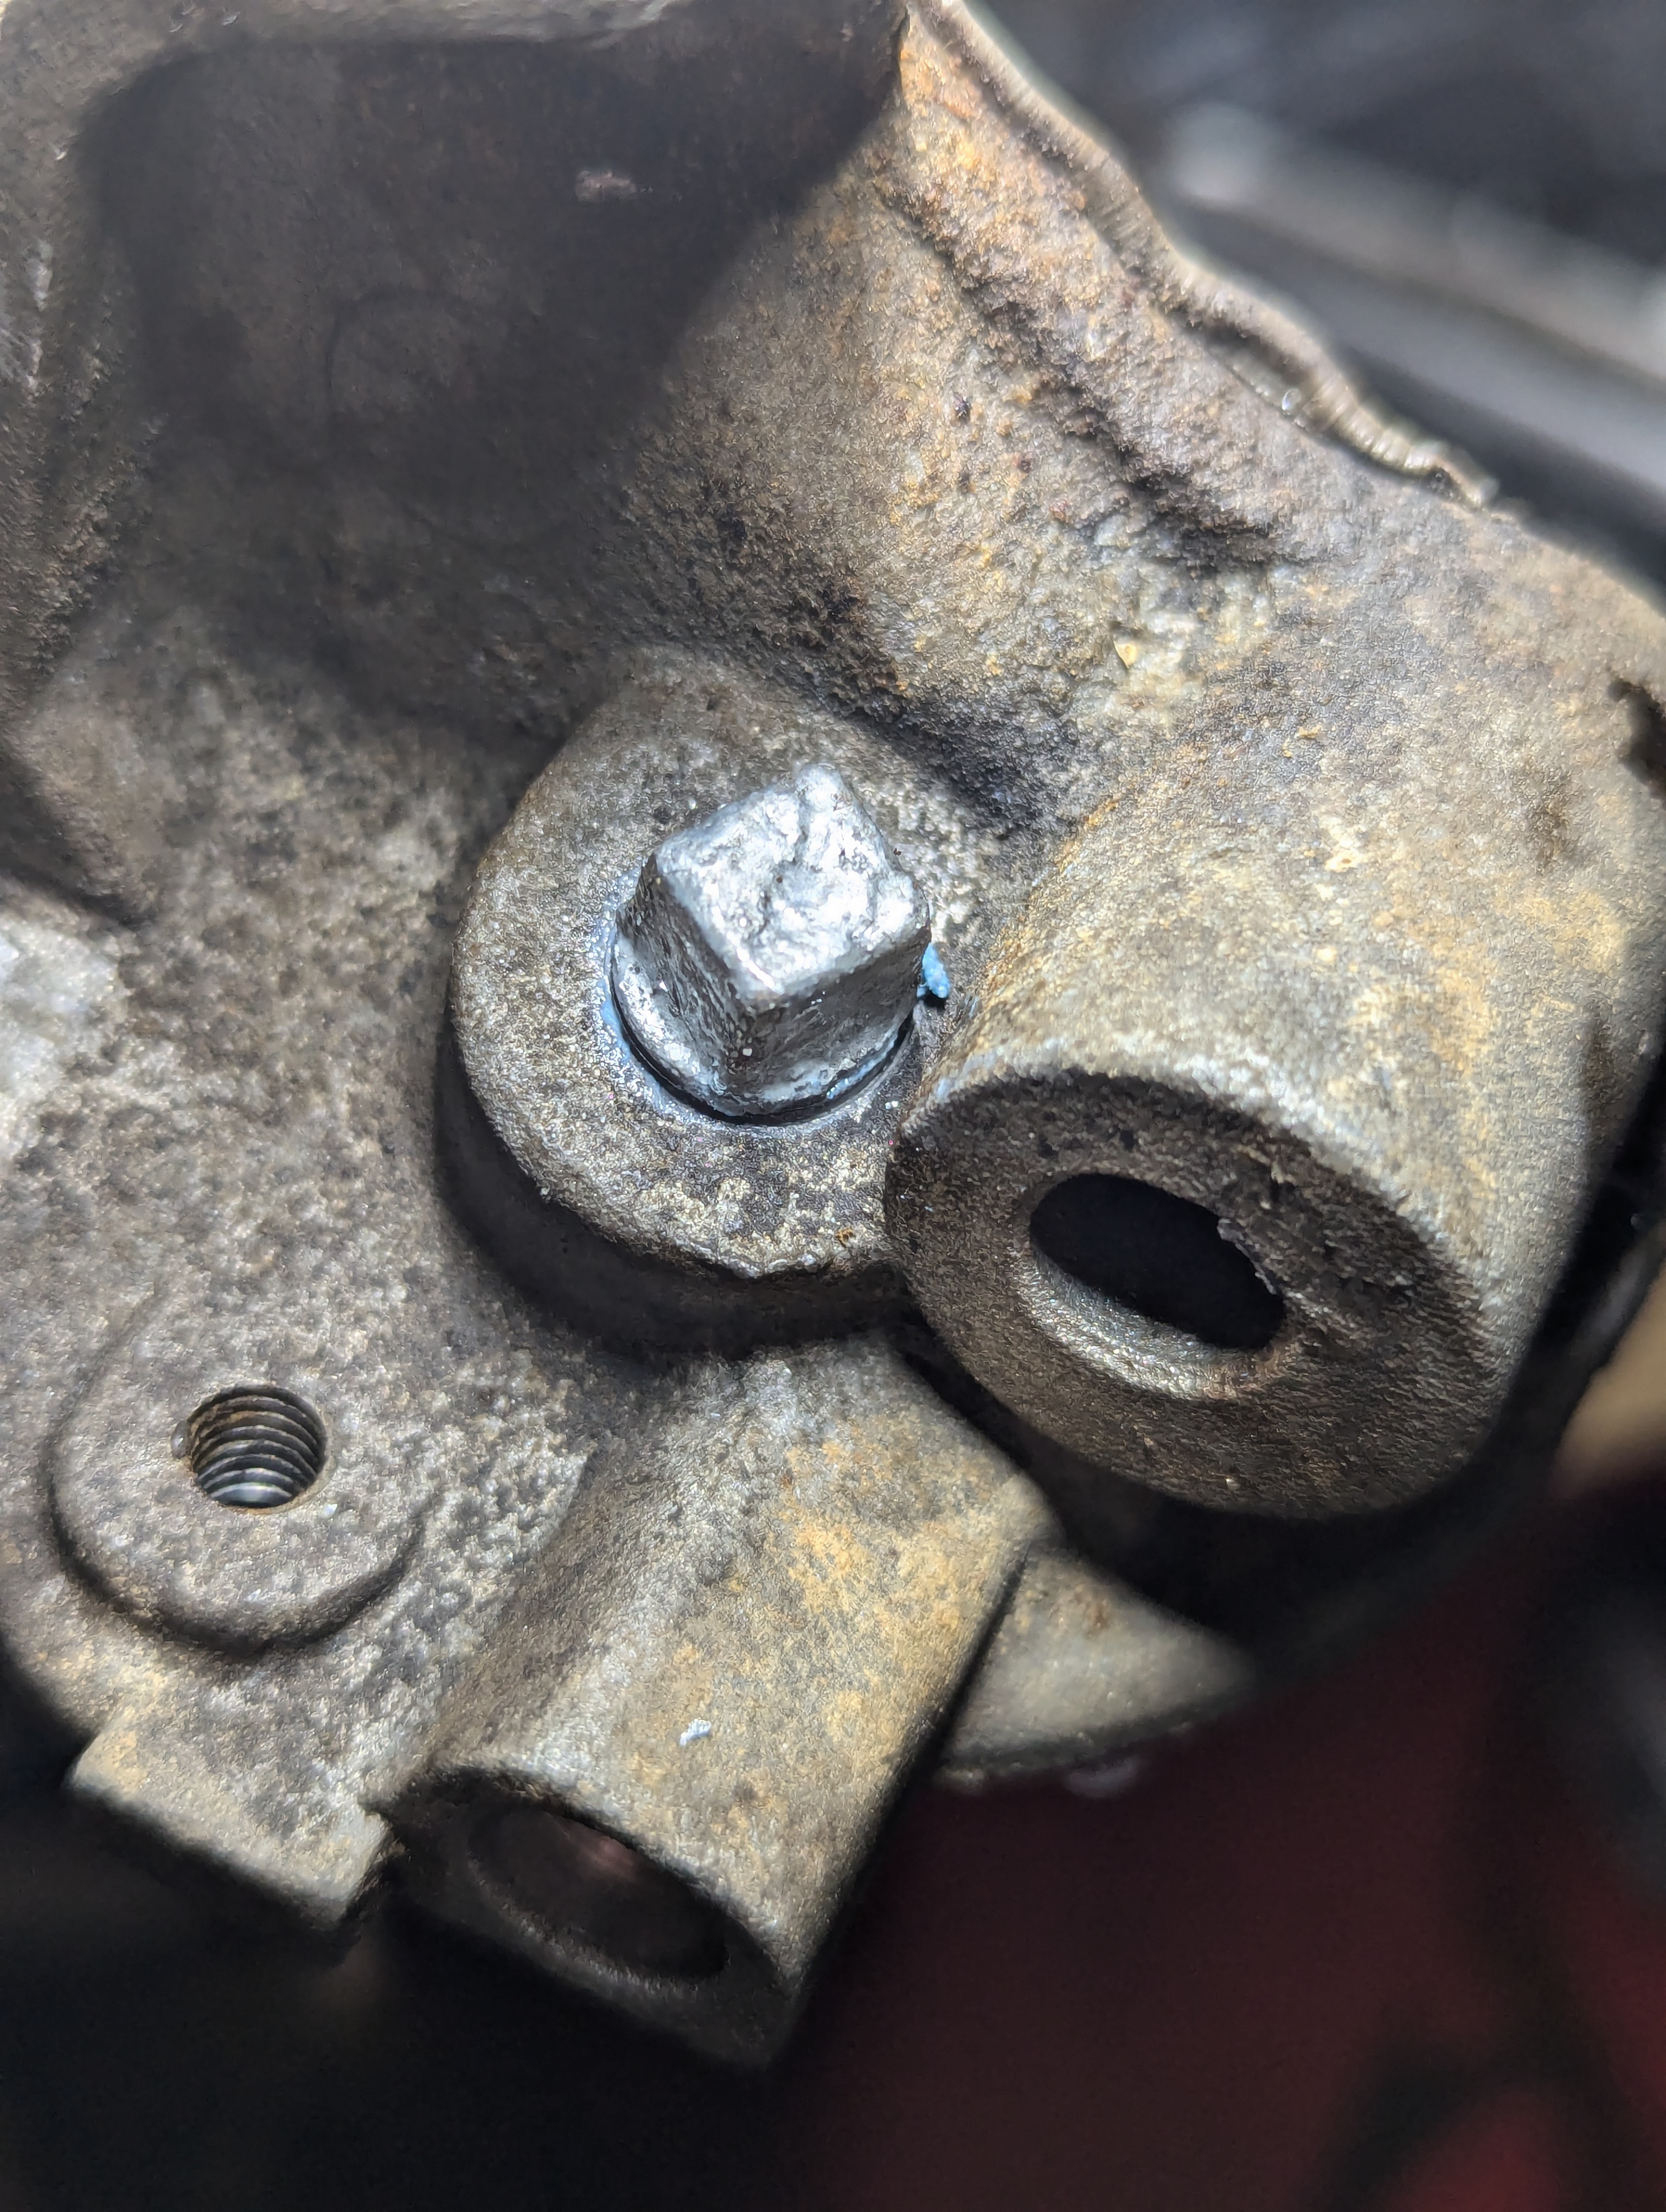
Remove the timing cover and discard of it. Remove the water neck and discard of it. The best way to approach the freeze plug behind it would be to drill a hole in the center, put a wood screw in there, and pry against the block. If it ends up getting lodged sideways in the head:
- Use pliers to grab it and wedge it so it’s perpendicular to the face of where the neck bolts up.
- Use a Dremel to carefully slice a chunk out of of the wall of the plug.
- Use the room granted by this slice to squeeze it out.
The pan, pickup, and windage trays are different. Pull the pan, pull the windage tray, remove the 2 bolts holding the pickup, and swap them from the Mazda engine.
Once you’ve done all that, everything else bolts up.